Take professional looking photographs for your website, social media, and promotional campaigns with these simple tips.
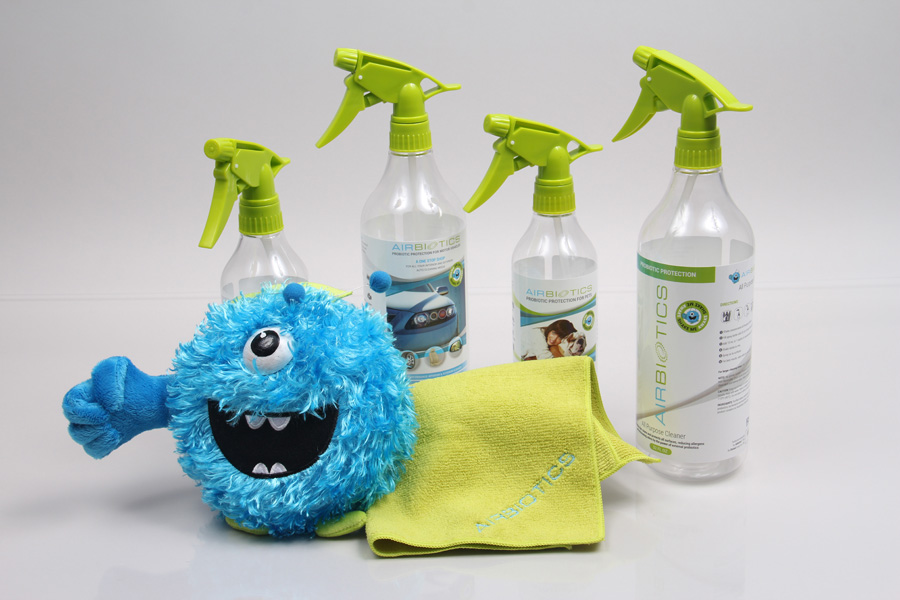
If your business has an online presence, whether it’s a website, a blog, or social media pages, your photography is an important aspect of your brand image. Taking stunning photos of your products and packaging can spark consumer interest and can help promote your brand organically.
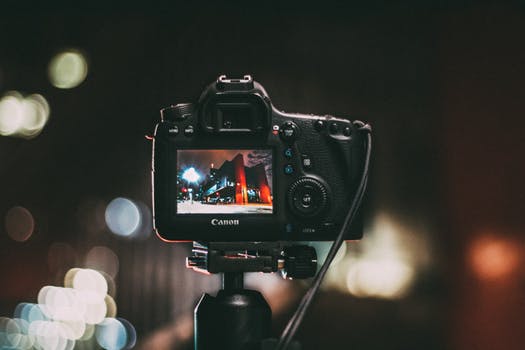
1. Use A Quality Camera
But it doesn’t have to be expensive!
Nowadays almost every camera you can buy is equipped with at least 8 megapixels, including cell phones. To take high-quality photographs for various marketing purposes you will want a higher number of megapixels. Cameras that allow you to choose ISO settings, shutter speeds, and other customizable options will be best for experimenting with your photos. Luckily all of these features can be found at a reasonable price, so you don’t have to spend a fortune to begin with. You can even use your cell phone camera if the quality meets your specific needs, as smart phones often have camera settings and even 4k video recording.
A camera is a just a tool you use to capture a moment in time. Whether working with a professional DSLR camera, a point and shoot, or a smartphone camera, there are many other factors that go into making amazing photographs. Choose a camera that has the features you need and focus on fine-tuning your photography and lighting skills to match.
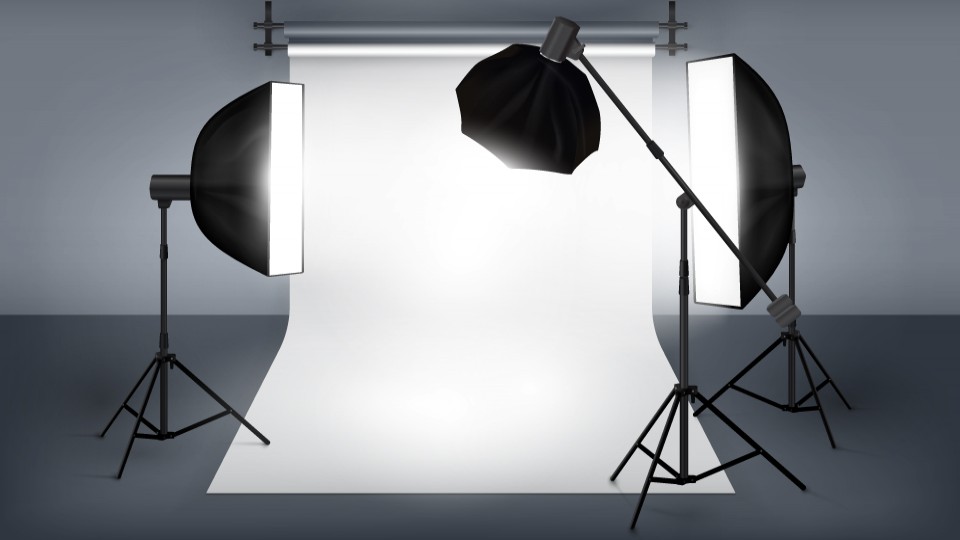
2. Lighting is Everything
Any photographer will tell you how important lighting is to the overall composure of a photograph. Natural lighting is a wonderful (and free) option that can be used when you are photographing your products and packaging. However, if you don’t have the ability to use natural light, you may want to invest in some lighting equipment to help your photos look their best. Unfortunately, using a normal camera flash will leave your photos with weird shadows and bright spots. Instead, you want to opt for continuous and even lighting for your artificially lighted photos.
If you have no budget for fancy photography lights, natural lighting is your best option. You can take your products outside in daylight and set up a mini-photo studio, or you can choose a room with abundant natural light to shoot in. When shooting outdoors it’s best to avoid direct bright sunlight and instead photograph in the morning or evenings when the daylight is softer. When shooting in a room with a window, you may have to use white foam boards to bounce light in the right direction, to eliminate weird shadows on your subject. If the window light is too harsh, you can also cover the window with white paper or fabric to diffuse the light. It’s important to try and get the right lighting for your photos because it will create less work for the editing process later on.
If you need to purchase indoor lighting equipment, there are many options available ranging from low budget to expensive. You can choose to DIY some of your lighting by using normal clamp lights and diffusing the light with white paper or fabric. You may have to experiment to get the right amount of light without casting heavy shadows on your subject. You can also buy budget priced lighting equipment and soft box lights that are ready to use for photography purposes, and even ready made lighting kits. There are many online articles and videos that give advice for budget photography lighting and DIY lighting options.
3. Accessories That Make it Simple
A tripod can be tremendously helpful when setting up photography for your retail items, packaging, or food items. A tripod will allow you the freedom to hold the camera steady in your chosen position to ensure a sharp, clear picture. The tripod can allow you to capture angles that may not be possible with just manual point and shoot methods. Tripods are available in all sizes ranging from small, flexible smartphone tripods to large adjustable DSLR tripods. A remote control is a great accessory to invest in to ensure your camera does not move while taking a picture. Of course there are many camera accessories available that can aid in your photography, but for the basic set-up you will want at least a good tripod.
4. An Interesting Background
When it comes to photographing objects or food, the composition of the photo is extremely important. To just take a straight-on picture with no stylizing would make a very one-dimensional photo that draws little interest. With certain products you may want a neutral white or black background for a stunning editorial effect. Or you may want to shoot your products and packaging with a real-life background for a natural look. When choosing a ‘studio’ background, lighting and composition is a little easier to manage. With a natural background you will have to experiment a little with your lighting and composition to create the right shot. You can also shoot your products on a white background and then later edit them onto a different background.
If you are photographing food items, maybe featuring some of your great branded packaging or custom printed basket liners, take the extra time to stylize the food to look more appetizing and appealing. Food pictures taken for promotions and social media are often taken from straight above, or they can be taken from a side angle. Photographing your food in an appealing way is a great way to gather a social media following and encourage more restaurant visits.
5. Editing Effects
Editing photos is a learned skill that takes practice and determination. There are, however, many tools available that can help a novice photographer through the editing process to create great pictures. You don’t necessarily need to invest in Photoshop, although that is generally the preferred editing software. With a budget photography set-up, editing apps for your smartphone could be sufficient for your social media and promotional photos. There are also many free photo editing software options available online. Adobe Lightroom and Photoshop are great tools for editing photos professionally but they take a lot of learning. Youtube and the internet provide great resources for learning how to use programs like these, if you have the desire to learn. If you want to learn how to edit your own photos, look for detailed tutorials and start playing around with different software and apps to create the end result you want.
When to Hire a Professional:
When it comes to the presentation of your brand, you don’t want to cut corners on quality. If your DIY photography skills aren’t cutting it, or you don’t like the idea of buying equipment and set-ups, hire a professional instead! A professional photographer can take your product and packaging photos and retouch them to perfection for you. If you enjoy the photography aspect but don’t want to tackle editing, you can send your photos to a professional just for editing and refining. Whatever you choose, always remember how important a photographic impression is for your brand and products. Pictures can speak a thousand words for your brand and help you gain customers and loyal followers.