Colored tissue paper bows appear in retro stores, home magazines, and more but no one takes the time to explain how they are made! Well today, that is going to change!
From baby showers to birthdays, Cinco de Mayo to Easter, colored tissue paper bows spice up gifts and decorations for any occasion! Believe it or not, the tissue paper flower bows that are used in all kinds of unique ways only take a few minutes to make!

I am here to give you an easy step-by-step guide to create your own tissue paper flower bows:
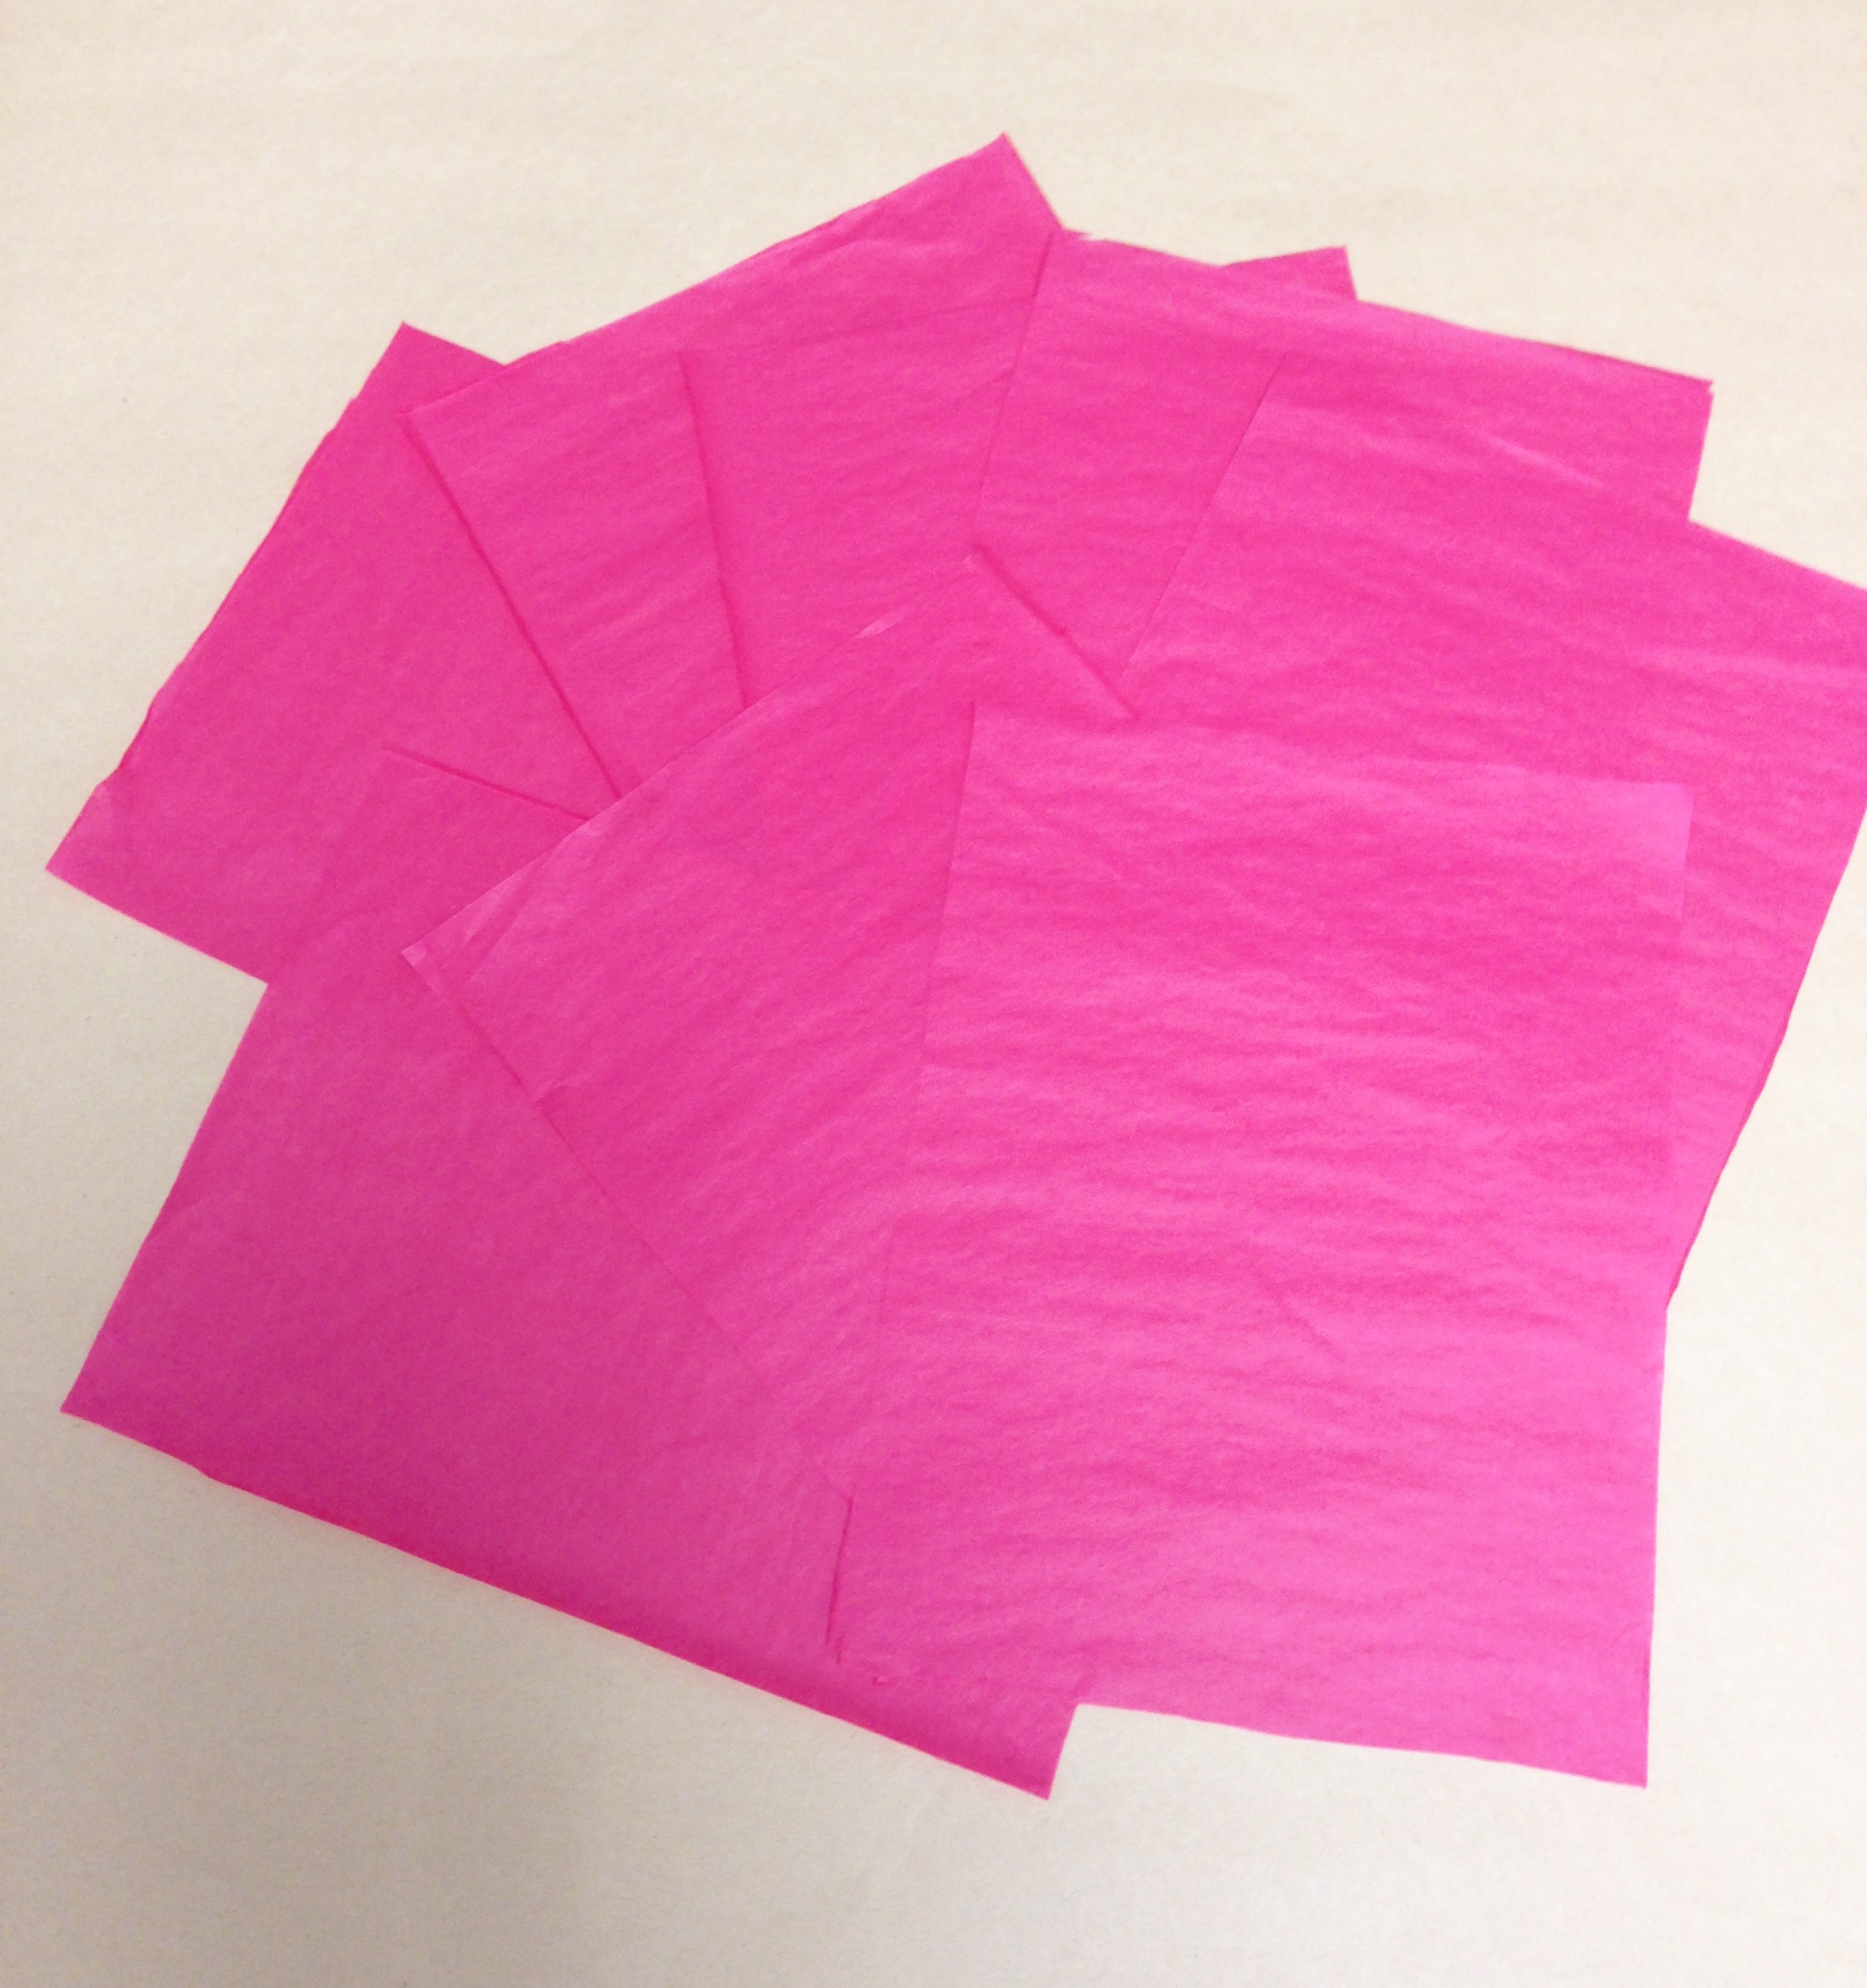
- Begin by picking out one sheet of Splash Packaging’s tissue paper. Remember, the more vibrant the color, the better!
- Cut the piece of tissue paper into six to ten smaller sheets.
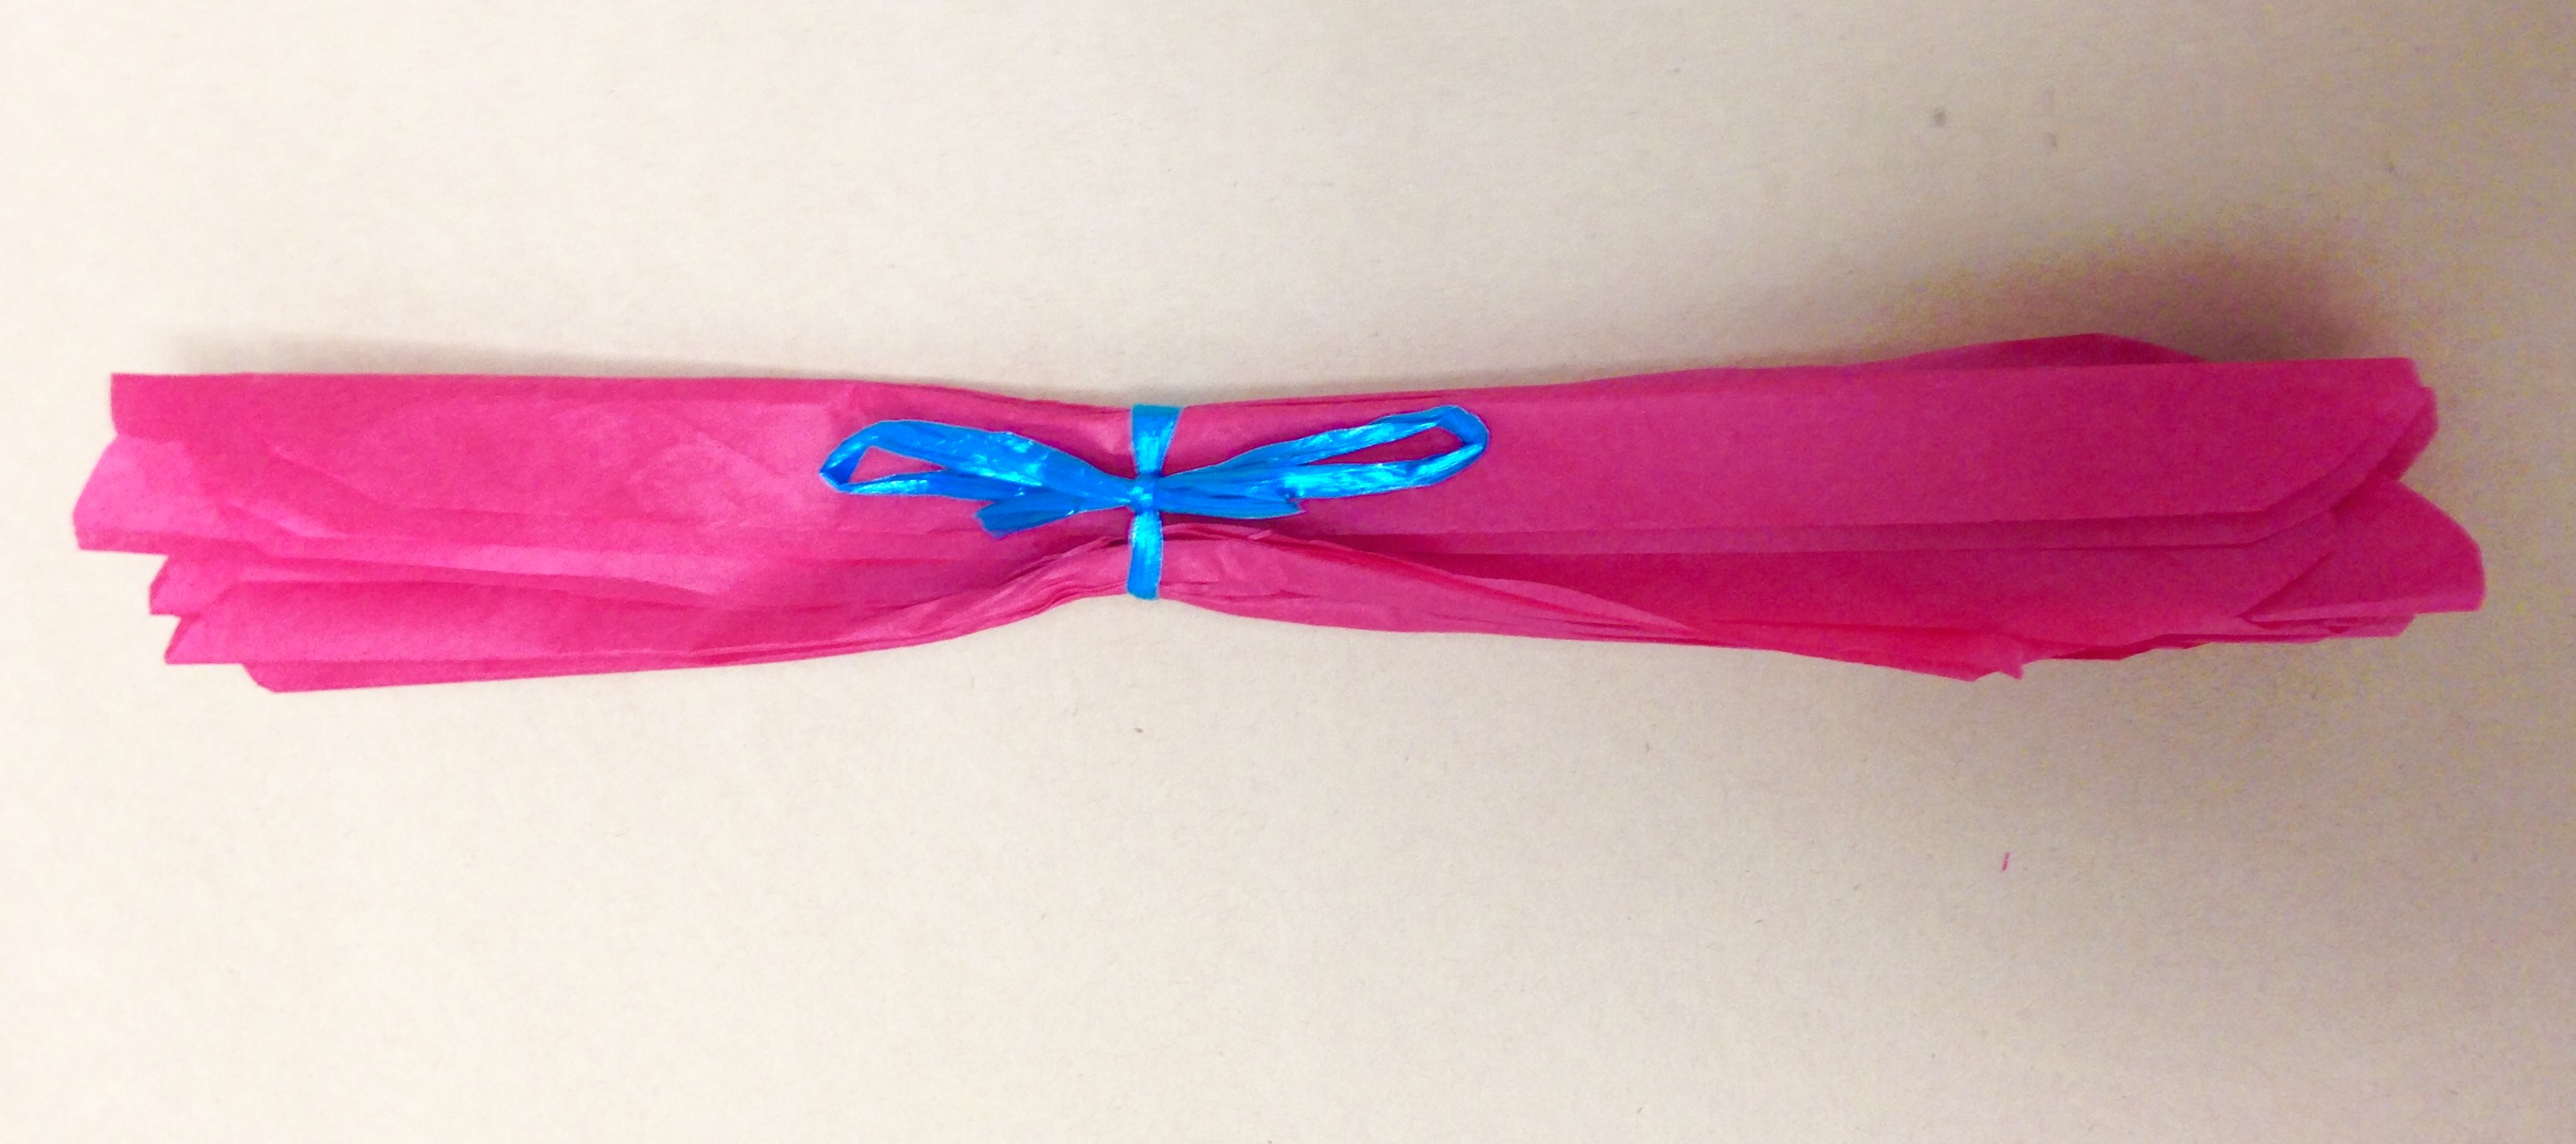
3. Fold the colored tissue paper back and forth every inch or so. Now, you will have long strips of folded tissue paper. Tie the middle with a rubber band or piece of string. Next, trim the edges of the tissue paper. For a fun look, round off the edges. For a more dramatic look, cut the edges into points.
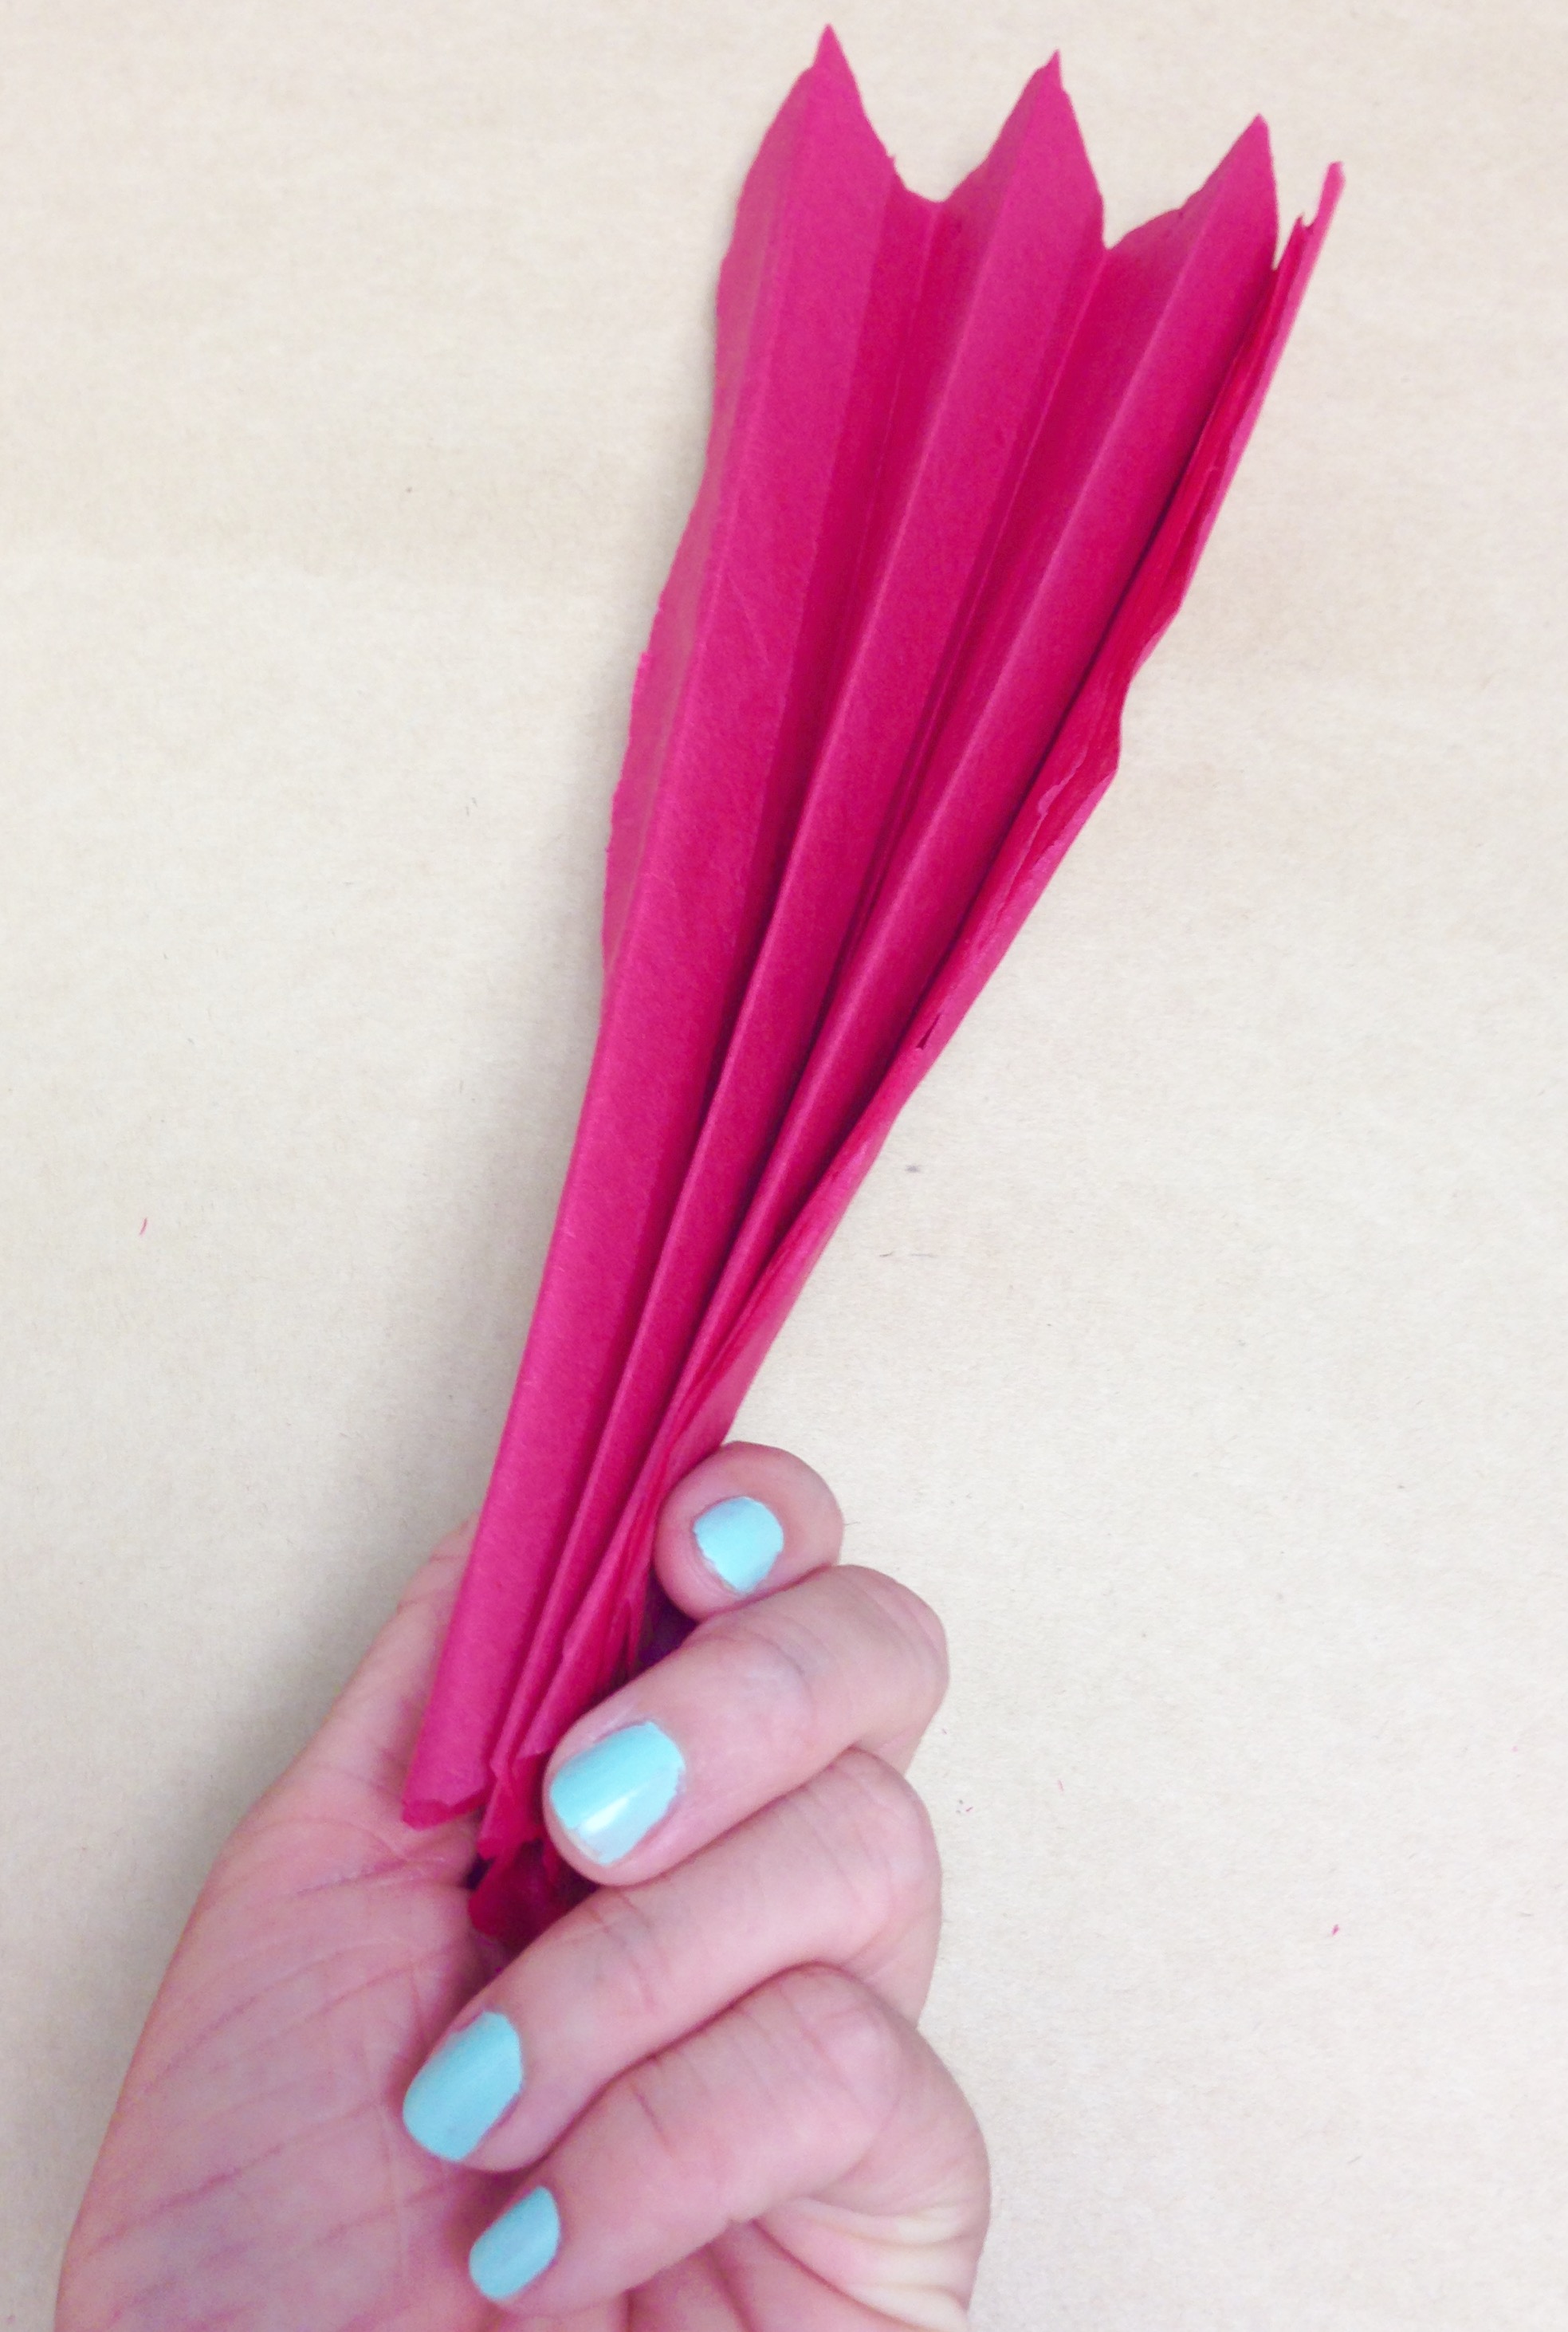
4. Now, if your tissue paper looks like a poorly made paper snowflake then you have cut the edges incorrectly and you must start over. (If this is you, don’t worry about it. I cut the edges wrong twice before I cut them correctly!)
5. Next, open up the sides by pulling them down so that the flower is semi-flat on the counter.
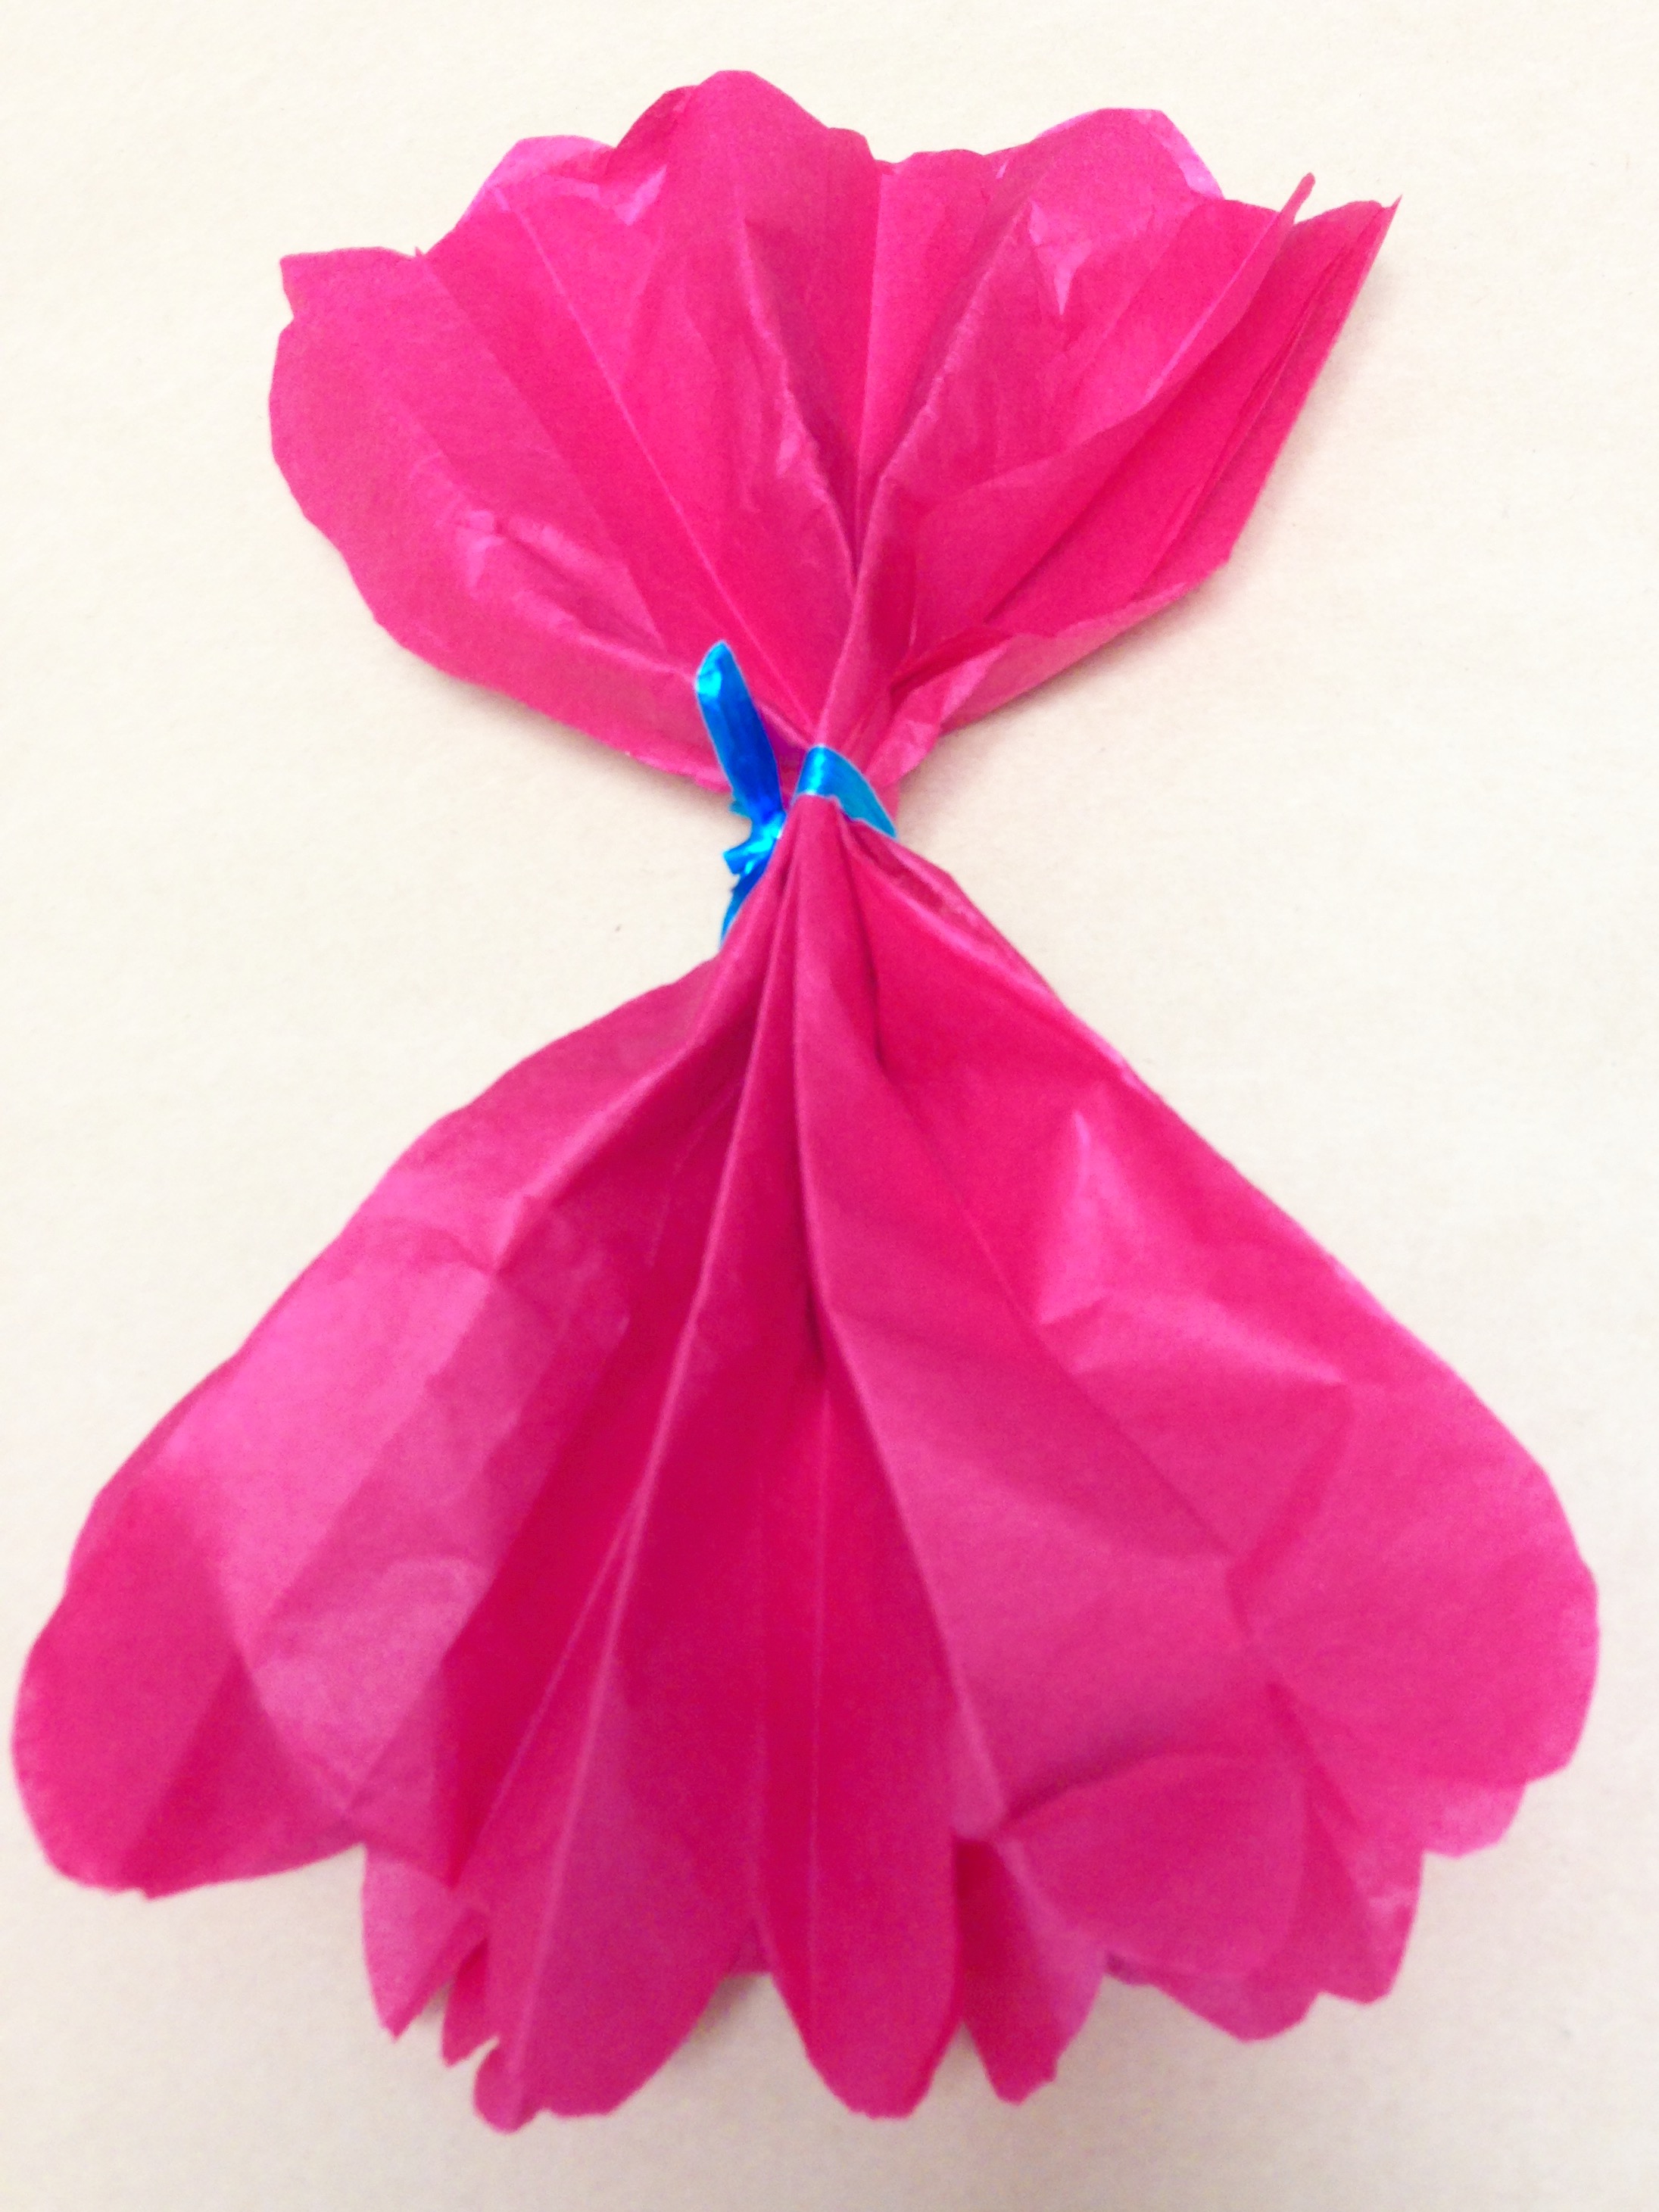
6. Pull the individual layers of tissue paper toward the middle. Then, turn the flower over and repeat on the back.
7. Your 3-D colored tissue paper bow is complete!
The last step is deciding what you want to do with your gorgeous flower bow:
- You can tie colorful string or twine within the bow and hang from the ceiling.
- Use double sided tape and attach to a gorgeous gift.
- Place on a pet dog or cat (if they will let you) as adorable collar décor!
